Ultimate Tutorial For Creating RESTful API with Node.js, Express, and MongoDB


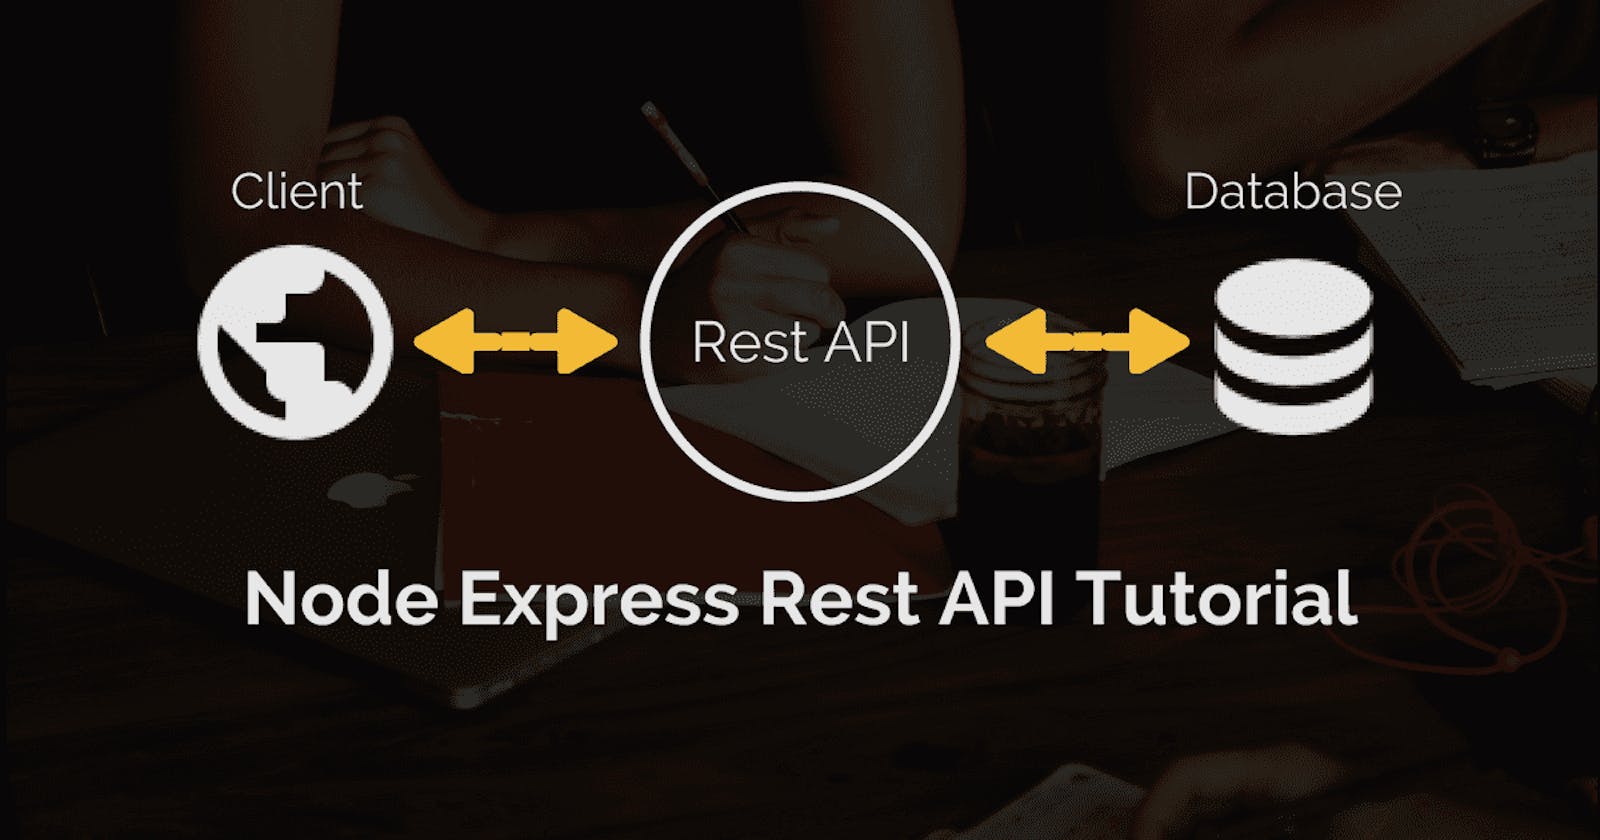
Table of contents
- Introduction
- Step 1: Setting Up the Project
- Step 2: Creating the Express Server & Middleware (knowledge of very basic JavaScript is required here..)
- Step 3: Connecting to MongoDB (You need have basic knowledge of mongoose...)
- Step 4: Implementing CRUD Operations
- Step 5: Adding Data Validation
- Last step : Starting the sever
- Entire code
- Conclusion
Introduction
This is the only tutorial you will ever need for creating a RESTful API from scratch with most understandable english without much technical jargon.
In this tutorial, we'll dive into creating a solid RESTful API using Node.js, Express, and MongoDB. RESTful APIs are the backbone of modern web applications, enabling communication between the frontend and backend. We'll cover each step in-depth, from setting up the environment to implementing CRUD operations and adding authentication.
Prerequisites: Before we begin, make sure Node.js and MongoDB installed on your machine. Basic knowledge of JavaScript and familiarity with Express.js & Mongoose will be fine. Please dont waste time if you know nothing make sure you are at least familiar with the Prerequisites.
Step 1: Setting Up the Project
Make a new folder anywhere with suitable name.
Open it in VS CODE or any suitable code editor.
Open that new folder in VS CODE and open terminal in for that folder in VS CODE.
- To open a terminal in vs code use command :
ctrl + ` | ctrl + (backtick)(backtick just below "esc" key)
- To open a terminal in vs code use command :
Write this command in terminal and run it :
npm init.Package.jsonand maybePackage-lock.json(not sure about this file 🥺) will arrive in your opened folder in vs code after runningnpm initcommand.Install these packages through terminal :
express,mongoose, andbody-parser.for installing any package use terminal and every time follow this syntax
for installing any package :
npm install package_namefor example install like :
npm install expressjs|npm install mongooseand so on.always take google/chatGPT help about the package you want to install.
Now open your
package.jsonfile and it will have all the packages you installed usingnpm install. Yeah that's it, you now have express, mongoose, body-parser installed for your project and to verify if you have installed it correctly always openpackage.jsonfile and the folder you made is now called a NodeJS project (yeah a NodeJS or ExpressJS project is nothing but a simple folder withpackage.jsonfile and some code that you will write with ExpressJS in differentsome_random_name.js(JavaScript) files.)
Step 2: Creating the Express Server & Middleware (knowledge of very basic JavaScript is required here..)
Create a new JavaScript file named
index.jsorapp.jsin root of folder(root means just in entry of folder {just when you open a folder.. that is called root of folder}), and import/require ExpressJS package in this file.way one is :
import express from "express"- then write this line :
const app = express()
- then write this line :
way two is :
const express = require("express")- then write this line :
const app = express()
- then write this line :
Now this is all that you did was called initialization/starting of express server.
Again i said starting/initialization of express server, don't mistake it that this a server right now.
Now your express server that you started cannot accept JSON and other different types of information and cannot deal with it, to give your server this power... we use premade "middleware".
- Middleware is nothing but a JavaScript function... that is the first thing that is ran in your server (when your server starts middleware is the one that is executed most first, you can have multiple middleware in your file) and it has a callback function as a parameter too (basically middleware is a higher order function). study about middlware on internet.
Now lets add some middleware :
 // express package import
 const express = require("express")
 const app = express()

 // middleware code...
 // now your express server can take JSON as
 // input because of this below line of code.
 app.use(express.json());
Step 3: Connecting to MongoDB (You need have basic knowledge of mongoose...)
this is not a tutorial of express, mongoDB, mongoose... this is a tutorial on how to make RESTful API... - Navraj SIngh
Set up a connection to your MongoDB database using Mongoose.
Define a schema for your data model, Yes... mongoDB is schema-less but.. but..
industry's developers and experts use mongoose to define a schema for mongoDB also.. why? well imagine a schema-less random database with billions of tons of data and entries... nobody wants that, when databases become huge a schema is always required. That's why we always need Schema even though mongoDB is schema-less.
Here's an code for setting up a connection to MongoDB using Mongoose and defining a schema for a basic
Itemmodel:// express package import const express = require("express") const app = express() // middleware code... // now your express server can take JSON as // input because of this below line of code. app.use(express.json()); // mongoose code here... const mongoose = require('mongoose'); // Connect to MongoDB (Replace 'mydatabase' with your database name) mongoose.connect('mongodb://localhost:27017/mydatabase', { useNewUrlParser: true, useUnifiedTopology: true, }); // Create a schema for the 'Item' model const itemSchema = new mongoose.Schema({ name: { // these are all validations type: String, required: true, minlength: 3, maxlength: 50, }, description: { // these are all validations type: String, required: true, minlength: 10, maxlength: 200, }, createdAt: { // these are all validations type: Date, default: Date.now, }, }); const Item = mongoose.model('Item', itemSchema);This is how the document in the database will look like :
 // this is a example my bro...
 {
   "_id": "617cf9e5f50a1565b4e3f98d",
   "name": "Sample Item",
   "description": "This is a sample description for the item.",
   "createdAt": "2023-12-07T08:00:00.000Z"
 }
In this code:
mongoose.connect()establishes a connection to your MongoDB database. Ensure you have MongoDB running locally or provide the appropriate URI for your database.mongoose.Schema()is used to define the structure of theItemmodel. It includes fields likename,description, andcreatedAt.mongoose.model()creates theItemmodel using theitemSchemaschema.
Step 4: Implementing CRUD Operations
Create endpoints for handling GET, POST, PUT, and DELETE requests.
Implement the logic to interact with the MongoDB database for each operation.
your goal here is to not understand the specific logic i wrote inside of this code..
Your Goal: Its stupid if you started understanding the inside code you dont need to.. just watch and see that i just implemented all the 4-5 http methods which makes a restful api (REST API is a api which has all 4-5 Https methods used according to when they are required rather than using "get" & "post" methods all the time for everything...)so just include all the 4-5 http methods and just write some simple console.log() inside all of them.. this is your goal just implement 4-5 https methods(get, post, put, patch, delete) which no logic inside of them just console log() something random...
// all the above code will be here and after all the above code
// add this code...

// GET all items
app.get('/items', async (req, res) => {
  try {
    const items = await Item.find();
    res.json(items);
  } catch (error) {
    res.status(500).json({ message: error.message });
  }
});

// POST a new item
app.post('/items', async (req, res) => {
  const newItem = new Item({
    name: req.body.name,
    description: req.body.description,
  });

  try {
    const savedItem = await newItem.save();
    res.status(201).json(savedItem);
  } catch (error) {
    res.status(400).json({ message: error.message });
  }
});

// PUT (update) an item by ID
app.put('/items/:id', async (req, res) => {
  const id = req.params.id;

  try {
    const updatedItem = await Item.findByIdAndUpdate(id, req.body, { new: true });
    if (!updatedItem) {
      return res.status(404).json({ message: 'Item not found' });
    }
    res.json(updatedItem);
  } catch (error) {
    res.status(400).json({ message: error.message });
  }
});

// DELETE an item by ID
app.delete('/items/:id', async (req, res) => {
  const id = req.params.id;

  try {
    const deletedItem = await Item.findByIdAndDelete(id);
    if (!deletedItem) {
      return res.status(404).json({ message: 'Item not found' });
    }
    res.json({ message: 'Item deleted' });
  } catch (error) {
    res.status(500).json({ message: error.message });
  }
});
Step 5: Adding Data Validation
We already added validation in our Schema, so this step is already done by you.
Validation just mean this... let me give you scenarios... :
Imagine you are entering a password on a website and the website said to you "not a strong password.. include special characters and make sure password is 8 characters long". This right here was validation, the server of the website checked that password is not strong.
A user on your website is filling his/her name on webite to make a account
now can a "name of a person" has mathematical numbers in it...? Absolutely not so we can't let anyone enters numbers in the name field of form in our website... that right there was validation...
validation can be added on mongoose but there are way more ways to even more validate data that is coming.. go to internet and learn about it...
Last step : Starting the sever
// all the above code here ... then add this below code to it...

// Start server
const PORT = 3000;
app.listen(PORT, () => {
  console.log(`Server is running on port ${PORT}`);
});
Entire code
// express package import
const express = require("express")
const app = express()

// middleware code...
// now your express server can take JSON as
// input because of this below line of code.
app.use(express.json());


// mongoose code here...
const mongoose = require('mongoose');

// Connect to MongoDB (Replace 'mydatabase' with your database name)
mongoose.connect('mongodb://localhost:27017/mydatabase', {
  useNewUrlParser: true,
  useUnifiedTopology: true,
});

// Create a schema for the 'Item' model
const itemSchema = new mongoose.Schema({
  name: {
    // these are all validations
    type: String,
    required: true,
    minlength: 3,
    maxlength: 50,
  },
  description: {
    // these are all validations
    type: String,
    required: true,
    minlength: 10,
    maxlength: 200,
  },
  createdAt: {
    // these are all validations
    type: Date,
    default: Date.now,
  },
});

// Create a model from upper defined Schema.
const Item = mongoose.model('Item', itemSchema);


// 4-5 http methods implementation
// GET all items
app.get('/items', async (req, res) => {
  try {
    const items = await Item.find();
    res.json(items);
  } catch (error) {
    res.status(500).json({ message: error.message });
  }
});

// POST a new item
app.post('/items', async (req, res) => {
  const newItem = new Item({
    name: req.body.name,
    description: req.body.description,
  });

  try {
    const savedItem = await newItem.save();
    res.status(201).json(savedItem);
  } catch (error) {
    res.status(400).json({ message: error.message });
  }
});

// PUT (update) an item by ID
app.put('/items/:id', async (req, res) => {
  const id = req.params.id;

  try {
    const updatedItem = await Item.findByIdAndUpdate(id, req.body, { new: true });
    if (!updatedItem) {
      return res.status(404).json({ message: 'Item not found' });
    }
    res.json(updatedItem);
  } catch (error) {
    res.status(400).json({ message: error.message });
  }
});

// DELETE an item by ID
app.delete('/items/:id', async (req, res) => {
  const id = req.params.id;

  try {
    const deletedItem = await Item.findByIdAndDelete(id);
    if (!deletedItem) {
      return res.status(404).json({ message: 'Item not found' });
    }
    res.json({ message: 'Item deleted' });
  } catch (error) {
    res.status(500).json({ message: error.message });
  }
});

// Start server
const PORT = 3000;
app.listen(PORT, () => {
  console.log(`Server is running on port ${PORT}`);
});
You know how to run a server Right... yeah plz do that to run it..??? Don't tell me... you are a noob who don't know anything about web development... is trying to make a RESTful API for scratch from a article...
Conclusion
Congratulations! You've built a RESTful API using Node.js, Express, and MongoDB.
This tutorial covered the fundamental aspects of creating APIs. Keep exploring and enhancing your API by adding more features and improving security measures.
Yes it has all the code in one file but you can take this as a challenge and make different modules for bit more challenge and assignment for yourself.